Burnishing Pottery: A Shiny Finish Without Glaze - Complete Guide to This Ancient Technique
Burnishing Pottery Quick Facts | Details |
|---|---|
Definition | Polishing clay to create shine without glaze |
Best Clay Stage | Leather-hard to bone-dry |
Required Tools | Smooth stone, spoon back, or burnishing tool |
Firing Temperature | Below 1832°F (1000°C) - Cone 018 to 06 |
Time Investment | 2-6 hours depending on piece size |
Surface Preparation | Must be perfectly smooth and sanded |
Best Clay Types | Fine earthenware without grog |
Functional Use | Decorative only - not food safe |
Burnishing pottery creates a shiny finish without glaze through an ancient technique that transforms ordinary clay surfaces into lustrous, gem-like finishes. As someone who's been working with ceramics for over fourteen years, I've discovered that burnishing offers a unique alternative to traditional glazing that many potters find both challenging and deeply rewarding.
Many beginners assume that achieving a glossy pottery surface requires expensive glazes and complex firing schedules. Others worry that burnishing is too time-consuming or technically demanding for their skill level. Some potters question whether burnished pieces can achieve the same visual impact as glazed pottery. These concerns are natural, but I've found that burnishing pottery provides accessible techniques that create stunning results while connecting contemporary makers to ancient ceramic traditions.
In this comprehensive guide, I'll share everything you need to know about burnishing pottery to achieve a shiny finish without glaze, from selecting appropriate clay bodies to mastering the techniques that create professional-quality results.
What is Burnishing Pottery? Understanding the Glaze-Free Shine
Burnishing pottery is a surface treatment technique where clay is polished with smooth, hard objects to compress and align clay particles, creating a reflective surface without any applied glaze. This process works by pressing down the flat clay particles, called platelets, so they align uniformly and reflect light consistently, producing a natural shine that emerges from the clay itself.
The fundamental difference between burnished and glazed pottery lies in their surface composition. Glazed pottery wears a glass coating that creates shine through its reflective properties, while burnished pottery achieves its luster through the reorganization of the clay's own particles. This distinction creates unique tactile and visual qualities that many potters and collectors find more appealing than conventional glazed surfaces.
Burnishing represents one of humanity's oldest pottery finishing techniques, developed thousands of years before glazes were discovered. Ancient potters across cultures recognized that polishing clay surfaces not only enhanced their appearance but also made vessels somewhat more water-resistant, though never truly waterproof.
The Science Behind Burnished Surfaces
Understanding how burnishing creates shine without glaze helps potters achieve better results through informed technique choices. Clay consists of microscopic flat particles that naturally orient randomly within the clay body. When these particles are compressed and aligned through burnishing, they create a surface that reflects light uniformly, producing the characteristic glow associated with burnished pottery.
The burnishing process works most effectively on fine clay bodies because larger particles and grog interfere with the smooth compression needed for optimal shine. This is why traditional burnishing pottery typically uses refined earthenware clays rather than heavily grogged or coarse clay bodies.
Temperature plays a crucial role in maintaining burnished surfaces. During firing, clay particles begin losing their platelet structure as temperatures increase. This explains why burnished pottery must be fired at relatively low temperatures, typically below 1832°F (1000°C), to preserve the carefully created surface alignment.
Essential Tools and Materials for Burnishing Pottery
Success with burnishing pottery depends heavily on selecting appropriate tools and materials that work together to create smooth, consistent results.
Burnishing Tools and Where to Find Them
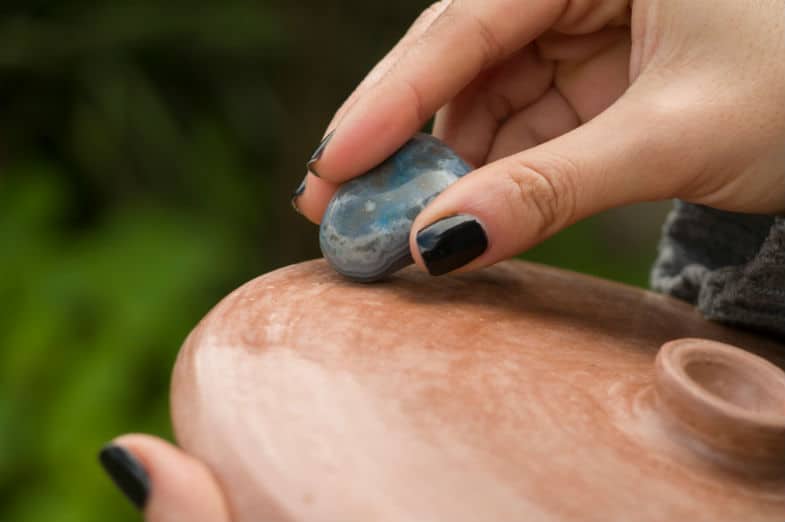
The most traditional burnishing tools are smooth stones found in nature or purchased from lapidary shops. Ideal burnishing stones feel comfortable in your hand and have perfectly smooth surfaces without any nicks, bumps, or rough spots that could scratch your pottery. River rocks, beach stones, and tumbled stones from rock shops all work well, though you should test any stone by running your fingernail across its surface to check for imperfections.
Many potters prefer using alternative burnishing tools that offer different advantages. The back of a metal spoon provides excellent control and consistent pressure, while large marbles offer smooth, curved surfaces perfect for rounded pottery forms. Some ceramicists even use jewelry burnishing tools, though these are typically designed for smaller, more detailed work.
Modern innovations include plastic burnishing tools and even the technique of wrapping fingers in plastic grocery bags to create smooth polishing surfaces. These alternatives often work well for final polishing stages, though they typically don't provide the initial compression needed for primary burnishing work.
Selecting Clay Bodies for Burnishing Success
Choosing the right clay for burnishing significantly impacts your final results. Fine-textured clay bodies without grog or sand work best because coarse particles interfere with the smooth surface compression that creates burnished shine. Earthenware clays typically provide the best burnishing characteristics due to their fine particle size and lower firing temperatures.
Stoneware clays can be burnished successfully, though they often require more effort to achieve the same level of shine as earthenware. Porcelain creates beautiful burnished surfaces but demands careful handling due to its tendency to crack or warp during the drying process.
Clays containing grog, sand, or other coarse materials should be avoided for burnishing projects. These particles create textural irregularities that prevent uniform surface compression, resulting in patchy or dull finished surfaces that defeat the purpose of burnishing.
Surface Preparation Materials
Proper surface preparation is essential for successful burnishing pottery. You'll need various grades of sandpaper, from coarse grits for initial shaping to fine grits (320-grit or higher) for final smoothing. Drywall sanding screens work particularly well because their mesh structure allows clay particles to fall through rather than creating abrasive buildup.
Lubricants play important roles in the burnishing process. Water serves as the most basic lubricant, though many potters prefer oils such as vegetable oil, mineral oil, or baby oil for their superior lubrication properties and longer working times. Some ceramicists use combinations of water and oil to achieve specific effects or working characteristics.
Three Methods of Burnishing Pottery Without Glaze
Different approaches to burnishing pottery suit various working styles, clay types, and desired outcomes. Understanding these methods helps you choose the most appropriate technique for your specific projects.
Burnishing Leather-Hard Clay Technique
Burnishing leather-hard clay offers the advantage of working with clay that remains somewhat malleable, making it easier to compress and align clay particles. This method works best when clay has reached the stiffer end of the leather-hard range, where it feels firm but retains enough moisture to prevent cracking under pressure.
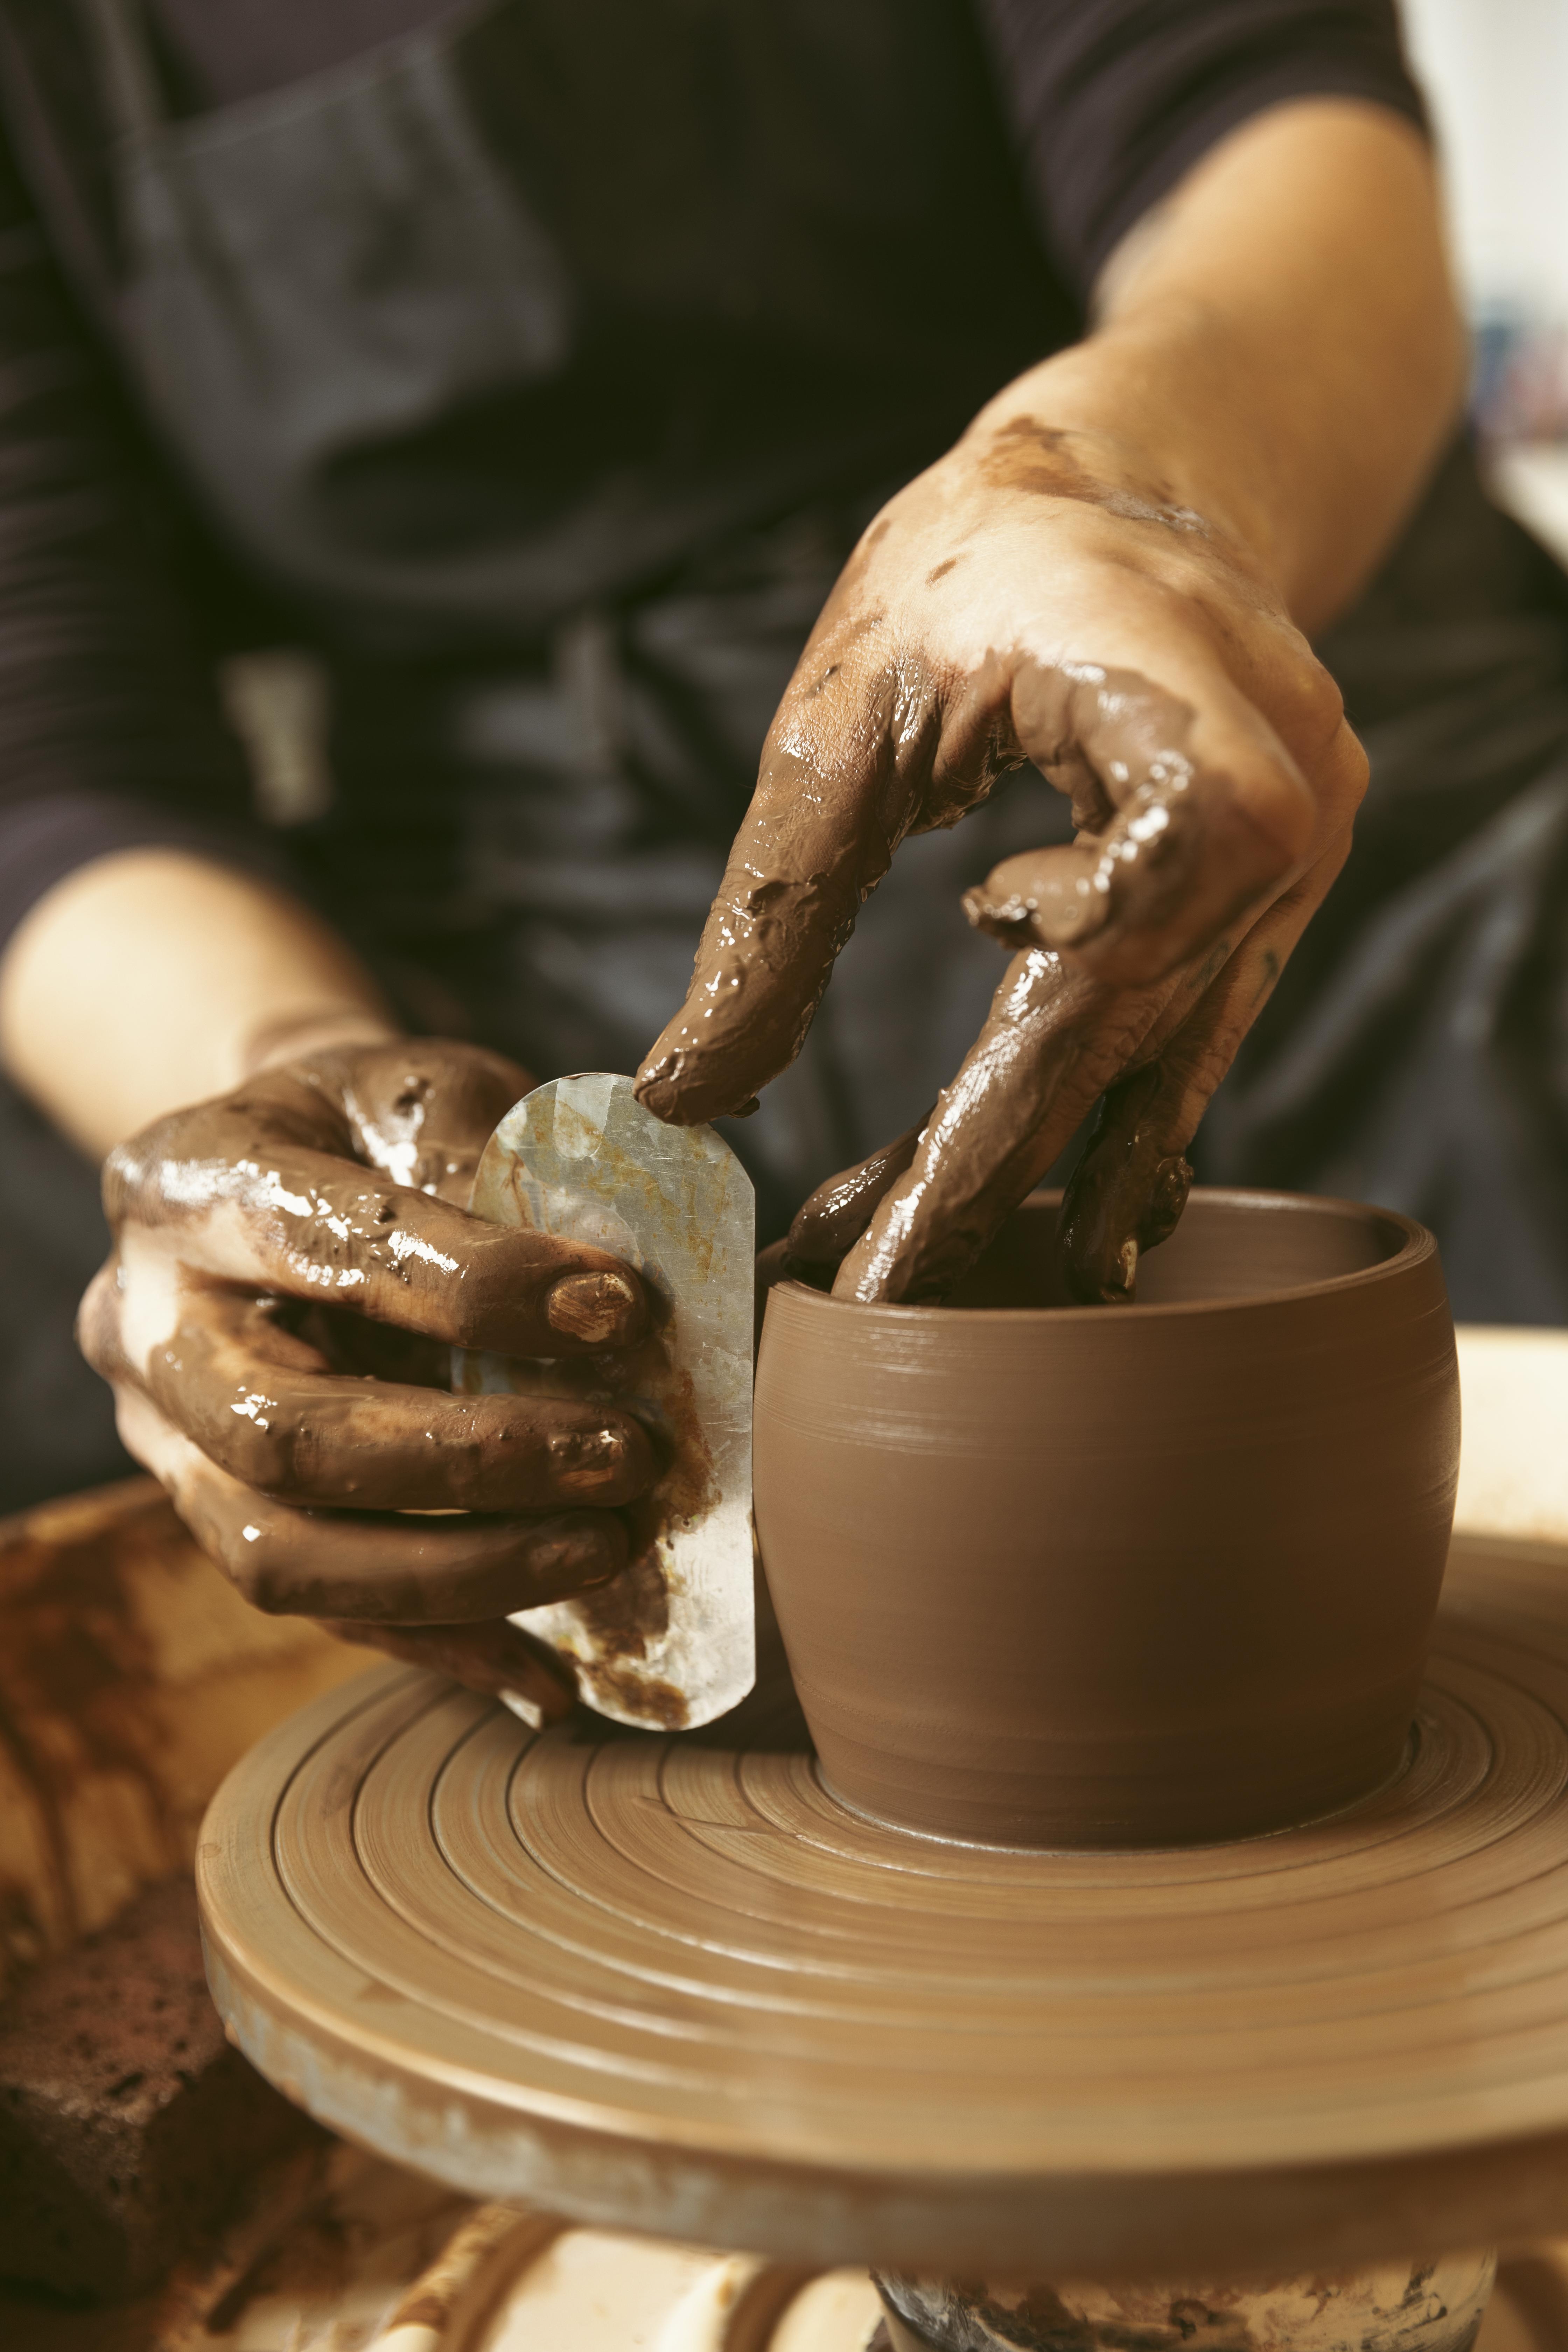
The process begins with preparing a smooth surface using metal ribs or scrapers to remove any tool marks or irregularities. Once the surface is as smooth as possible, burnishing can begin using your chosen tool and steady, consistent pressure. The clay's moisture content allows particles to move and realign more easily than when completely dry.
However, leather-hard burnishing presents certain challenges. As the clay continues drying, it shrinks slightly, which can cause the carefully created smooth surface to develop microscopic wrinkles that reduce the burnished effect. This often necessitates additional burnishing sessions as the clay approaches the bone-dry stage.
Bone-Dry Clay Burnishing Process
Many experienced potters prefer burnishing bone-dry clay because it eliminates the complications caused by ongoing shrinkage. This method requires more initial preparation, including careful sanding to achieve perfectly smooth surfaces, but often produces superior final results.
Sanding pottery before burnishing requires attention to safety, as clay dust poses respiratory hazards. Always work outdoors or in well-ventilated areas while wearing appropriate dust masks. Begin with coarser grits to remove major irregularities, then progress through finer grits to achieve the smooth surface necessary for effective burnishing.
The bone-dry burnishing process requires lubricants to prevent scratching and to help realign clay particles. Apply small amounts of your chosen lubricant to sections of the pottery, then burnish those areas before moving to adjacent sections. This systematic approach ensures complete coverage while preventing the lubricant from drying before burnishing is complete.
Terra Sigillata Burnishing Method
Terra sigillata represents a refined approach to burnishing pottery that uses specially prepared fine clay slip to create exceptionally smooth surfaces. This technique involves applying multiple thin coats of terra sigillata to bone-dry pottery, then burnishing the dried slip to achieve a high-gloss finish.
Making terra sigillata requires settling clay slip to separate the finest particles, which are then used to create the smooth coating. While this process takes additional time and preparation, the results often surpass what can be achieved through traditional burnishing methods alone.
Terra sigillata burnishing works particularly well on pottery forms that would be difficult to burnish using traditional methods. Complex shapes, detailed textures, and pieces with multiple surfaces can be coated with terra sigillata and polished more easily than they could be burnished directly.
Step-by-Step Burnishing Process for Beginners
Learning to burnish pottery successfully requires understanding proper techniques and developing the patience necessary for this time-intensive process.
Surface Preparation and Sanding Requirements
Perfect surface preparation forms the foundation of successful burnishing pottery. Begin by examining your bone-dry pottery for any imperfections, tool marks, or rough areas that need attention. Even small irregularities will show in the final burnished surface, so thorough preparation is essential.
Start sanding with relatively coarse sandpaper (120-220 grit) to remove major imperfections, then progress through finer grits to achieve a smooth finish. The final sanding should use 320-grit or finer sandpaper to create the smooth surface necessary for effective burnishing. Pay particular attention to difficult areas like rims, curves, and transitions between surfaces.
Remove all sanding dust using a slightly damp sponge or soft brush before beginning the burnishing process. Any remaining dust will interfere with the burnishing action and create imperfections in your finished surface.
Proper Burnishing Motion and Pressure
The burnishing technique requires consistent pressure and systematic coverage to achieve uniform results. Begin at the rim of your pottery, as this area is typically the most challenging to burnish effectively. Work in small sections, applying steady pressure while moving your burnishing tool in overlapping strokes that cover the entire surface.
Vary the direction of your burnishing strokes to avoid creating patterns or streaks in the finished surface. Some potters prefer circular motions, while others use back-and-forth or crosshatch patterns. The key is maintaining consistent pressure and ensuring complete coverage of each area.
Burnishing pressure should be firm enough to compress the clay surface but not so aggressive that it gouges or damages the pottery. You'll develop a feel for appropriate pressure through practice, learning to recognize when the clay surface begins developing the characteristic sheen that indicates successful burnishing.
Working in Spiral Patterns to Avoid Scratches
Professional burnishing pottery technique involves working in a systematic spiral pattern from rim to foot to ensure that previously burnished areas don't dry completely before adjacent areas are finished. This approach prevents the common problem of scratching dried burnished surfaces while working on nearby areas.
Start at the rim and work your way around the entire circumference before moving to the next lower section. This spiral pattern ensures that you're never working directly adjacent to completely dry areas that could be damaged by tool contact or lubricant application.
Maintain steady progress once you begin burnishing, as stopping for extended periods can create visible boundaries between burnished sections. Plan your burnishing sessions to allow completion of entire pieces or major sections without interruption.
Firing Burnished Pottery: Temperature and Timing Considerations
Understanding proper firing techniques is crucial for preserving the burnished pottery finish you've worked so hard to create.
Low-Fire Requirements for Maintaining Burnish
Burnished pottery must be fired at relatively low temperatures to preserve the surface alignment that creates its characteristic shine. Most potters fire burnished pieces between cone 018 (1323°F/717°C) and cone 06 (1830°F/999°C), with cone 018 being preferred for maximum shine retention.
Higher firing temperatures cause clay particles to lose their platelet structure, which destroys the carefully created surface alignment responsible for the burnished effect. Even firing to cone 04 (1945°F/1063°C) will significantly reduce the burnished shine, while higher temperatures eliminate it entirely.
Low-fire burnishing requires careful kiln loading and firing schedules to prevent thermal shock that could crack or damage delicate burnished surfaces. Use slow heating and cooling cycles, and avoid placing burnished pieces near kiln elements or in areas with rapid temperature fluctuations.
Post-Firing Wax Treatments for Enhanced Shine
Many potters enhance their fired burnished pottery with wax treatments that restore some of the pre-firing shine and provide additional surface protection. Traditional waxes include beeswax, paraffin, and even automotive waxes, each offering different characteristics and ease of application.
Apply wax treatments to slightly warmed pottery for best results. Use a hair dryer or other gentle heat source to warm small sections of the fired piece, then rub wax into the heated surface and buff to a shine using soft cloths or plastic bags stretched over your fingers.
Wax finishing not only enhances the visual appeal of burnished pottery but also provides some moisture resistance and protection from handling. However, waxed surfaces require periodic maintenance and reapplication to maintain their appearance and protective qualities.
Troubleshooting Common Burnishing Problems
Even experienced potters encounter challenges when burnishing pottery, but most problems have straightforward solutions once you understand their causes.
Dealing with Uneven Burnish and Dull Spots
Uneven burnishing typically results from inadequate surface preparation or inconsistent technique during the burnishing process. Dull spots often indicate areas where the burnishing tool couldn't reach due to surface irregularities or where insufficient pressure was applied during burnishing.
The solution usually involves additional surface preparation followed by re-burnishing the affected areas. Sand problematic spots smooth, then re-apply lubricant and burnish with consistent pressure until the surface matches the surrounding areas.
Preventing uneven burnish requires careful attention to surface preparation and systematic burnishing technique. Take time to properly sand all surfaces smooth before beginning, and maintain consistent pressure and coverage during the burnishing process.
Maintaining Burnish Through Drying and Firing
Burnished surfaces are fragile and easily damaged during handling, drying, and firing. Avoid touching burnished surfaces with bare hands, as fingerprints will leave permanent marks that can't be removed without re-burnishing the entire area.
Support burnished pottery carefully during drying and loading, using soft materials like foam or fabric to prevent contact with hard surfaces. Load kilns carefully to prevent pieces from touching each other or kiln furniture that could mar the burnished surfaces.
Handle fired burnished pottery with clean hands or soft gloves to prevent oil transfer that could create uneven surface appearance. Store pieces carefully to prevent scratching or other damage to the delicate burnished finish.
Advanced Burnishing Techniques and Creative Applications
Experienced potters can expand their burnishing pottery practice through advanced techniques that create more complex and sophisticated results.
Combining Burnishing with Alternative Firing Methods
Burnished pottery works exceptionally well with alternative firing techniques like pit firing, saggar firing, and raku. The low firing temperatures used in these methods preserve burnished surfaces while adding unique color and texture effects from the firing process itself.
Pit firing burnished pottery creates dramatic color variations and carbon markings that complement the smooth, reflective surfaces beautifully. The contrast between the polished clay and the organic fire effects produces visually striking results that showcase both techniques effectively.
Raku firing with burnished pieces requires careful temperature control to prevent losing the burnished effect while achieving the characteristic raku surface treatments. Some potters apply resist materials to protect burnished areas during raku reduction processes.
Creating Patterns and Designs on Burnished Surfaces
Advanced burnishing techniques include creating patterns through selective burnishing, leaving some areas unburnished to create contrast, or using different burnishing tools to create varied surface textures within the same piece.
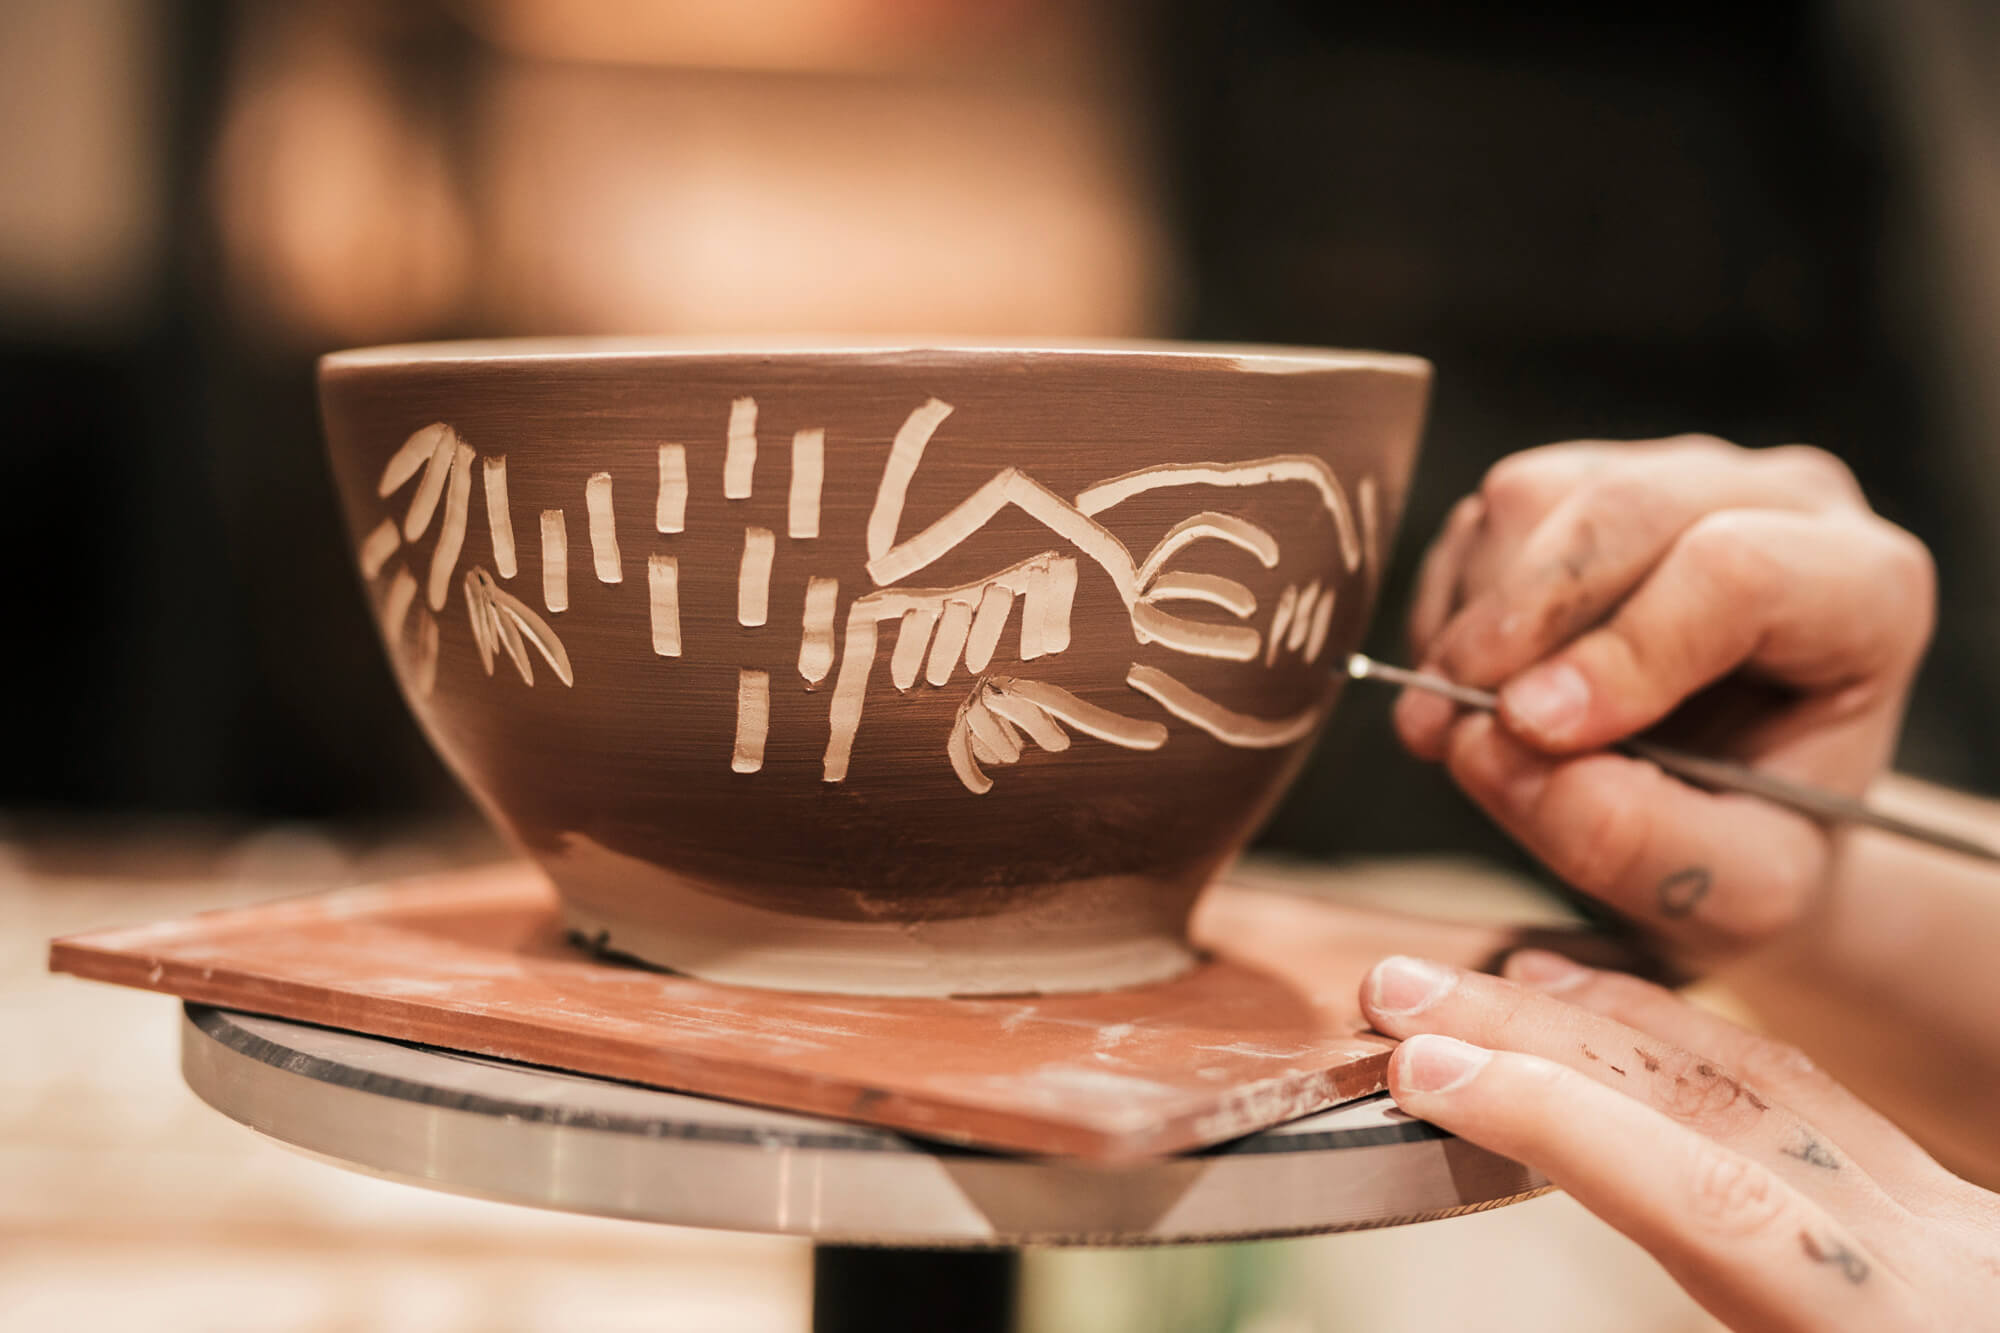
Incised decoration can be added to burnished surfaces before firing, creating linear patterns that catch light differently than the smooth burnished areas. These techniques require careful planning and execution but can produce sophisticated decorative effects.
Some potters combine burnishing with slip trailing or other decorative techniques applied before the burnishing process, creating complex surface treatments that showcase multiple ceramic skills within single pieces.
Caring for and Displaying Burnished Pottery
Proper care and display maximize the visual impact and longevity of your burnished pottery pieces.
Food Safety Considerations for Burnished Pieces
Burnished pottery is not food-safe and should be considered decorative only. The low firing temperatures required to maintain burnished surfaces don't create the vitrification necessary for food-safe ceramics. Additionally, burnished surfaces remain porous and can harbor bacteria despite their smooth appearance.
Use burnished pottery for decorative purposes, dried flowers, or other non-food applications where their beauty can be appreciated without safety concerns. This limitation doesn't diminish their artistic value but requires appropriate use and marketing.
Protecting Burnished Surfaces from Damage
Burnished pottery surfaces remain relatively fragile even after firing and require careful handling to maintain their appearance. Avoid abrasive cleaning methods, harsh chemicals, or rough handling that could scratch or damage the polished surface.
Clean burnished pottery with soft, damp cloths and mild soap if necessary. Avoid scrubbing or using abrasive materials that could damage the carefully created surface finish. Reapply wax treatments periodically to maintain shine and provide additional protection.
Display burnished pieces away from high-traffic areas where they might be accidentally knocked or scratched. Use appropriate stands or supports that won't mar the burnished surfaces, and consider protective cases for particularly valuable or delicate pieces.
Frequently Asked Questions About Burnishing Pottery
What clay works best for burnishing pottery?
Fine earthenware clays without grog or sand work best for burnishing. These clays have small, uniform particles that compress and align easily during burnishing. Avoid clays with grog, sand, or other coarse materials that interfere with smooth surface creation. Red earthenware often provides excellent burnishing characteristics and attractive color contrast.
How long does it take to burnish a pottery piece?
Burnishing pottery typically takes 2-6 hours depending on the piece size and complexity. Small, simple forms might require 2-3 hours, while larger or more complex pieces can take a full day. The process can't be rushed, as thorough burnishing requires systematic coverage and consistent pressure throughout.
Can burnished pottery be used for food?
No, burnished pottery should not be used for food or beverages. The low firing temperatures required to maintain burnished surfaces don't create food-safe ceramics. Additionally, the porous nature of low-fired clay can harbor bacteria. Use burnished pieces for decorative purposes only.
What temperature should I fire burnished pottery?
Fire burnished pottery between cone 018 (1323°F/717°C) and cone 06 (1830°F/999°C) to preserve the burnished finish. Higher temperatures destroy the clay particle alignment that creates the burnished shine. Cone 018 preserves maximum shine, while cone 06 provides better durability with some shine loss.
Why does my burnished pottery look dull after firing?
Dull burnished pottery after firing usually indicates firing temperature was too high, destroying the clay particle alignment. It could also result from inadequate burnishing technique or poor surface preparation. Try firing at lower temperatures (cone 018) and ensure thorough burnishing with proper surface preparation.
Can I repair scratches in burnished pottery?
Minor scratches in unfired burnished pottery can sometimes be repaired by re-burnishing the affected area. However, scratches in fired pieces are generally permanent. Prevention through careful handling is better than attempting repairs. Use soft supports during drying and firing, and handle pieces carefully to avoid damage.
Burnishing pottery creates a shiny finish without glaze that connects contemporary ceramic artists to ancient traditions while offering unique aesthetic possibilities unavailable through conventional glazing techniques. This time-honored method rewards patience and skill with surfaces of exceptional beauty that showcase the natural qualities of clay in ways that glazed pottery simply cannot match.


Stay up-to-date