Slip Casting Quick Facts | Details |
|---|---|
Definition | Liquid clay poured into porous plaster molds |
Main Materials | Casting slip, plaster molds, deflocculants |
Time per Cast | 10-30 minutes depending on wall thickness |
Clay-to-Water Ratio | Approximately 75% clay, 25% water |
Ideal Slip Specific Gravity | Around 1.80 |
Primary Advantages | Consistency, reproducibility, complex shapes |
Best For | Mass production, intricate forms, identical pieces |
What is slip casting in ceramics? This question comes up frequently among pottery enthusiasts who want to understand how manufacturers create identical ceramic pieces or how artists achieve complex forms that would be impossible on a pottery wheel. As someone who's worked with ceramic production for over fifteen years, I've seen slip casting transform from a purely industrial process to an essential technique embraced by studio potters worldwide.
Many beginners assume that slip casting is just for large-scale manufacturing, while others worry it's too technical for studio use. Some potters question whether slip cast pieces can truly be considered handmade. These misconceptions often prevent ceramicists from exploring one of the most versatile and efficient techniques available in pottery making.
In this comprehensive guide, I'll explain everything you need to know about slip casting ceramics, from the fundamental process to advanced applications that will expand your ceramic capabilities.
Understanding Slip Casting: Definition and Basic Process
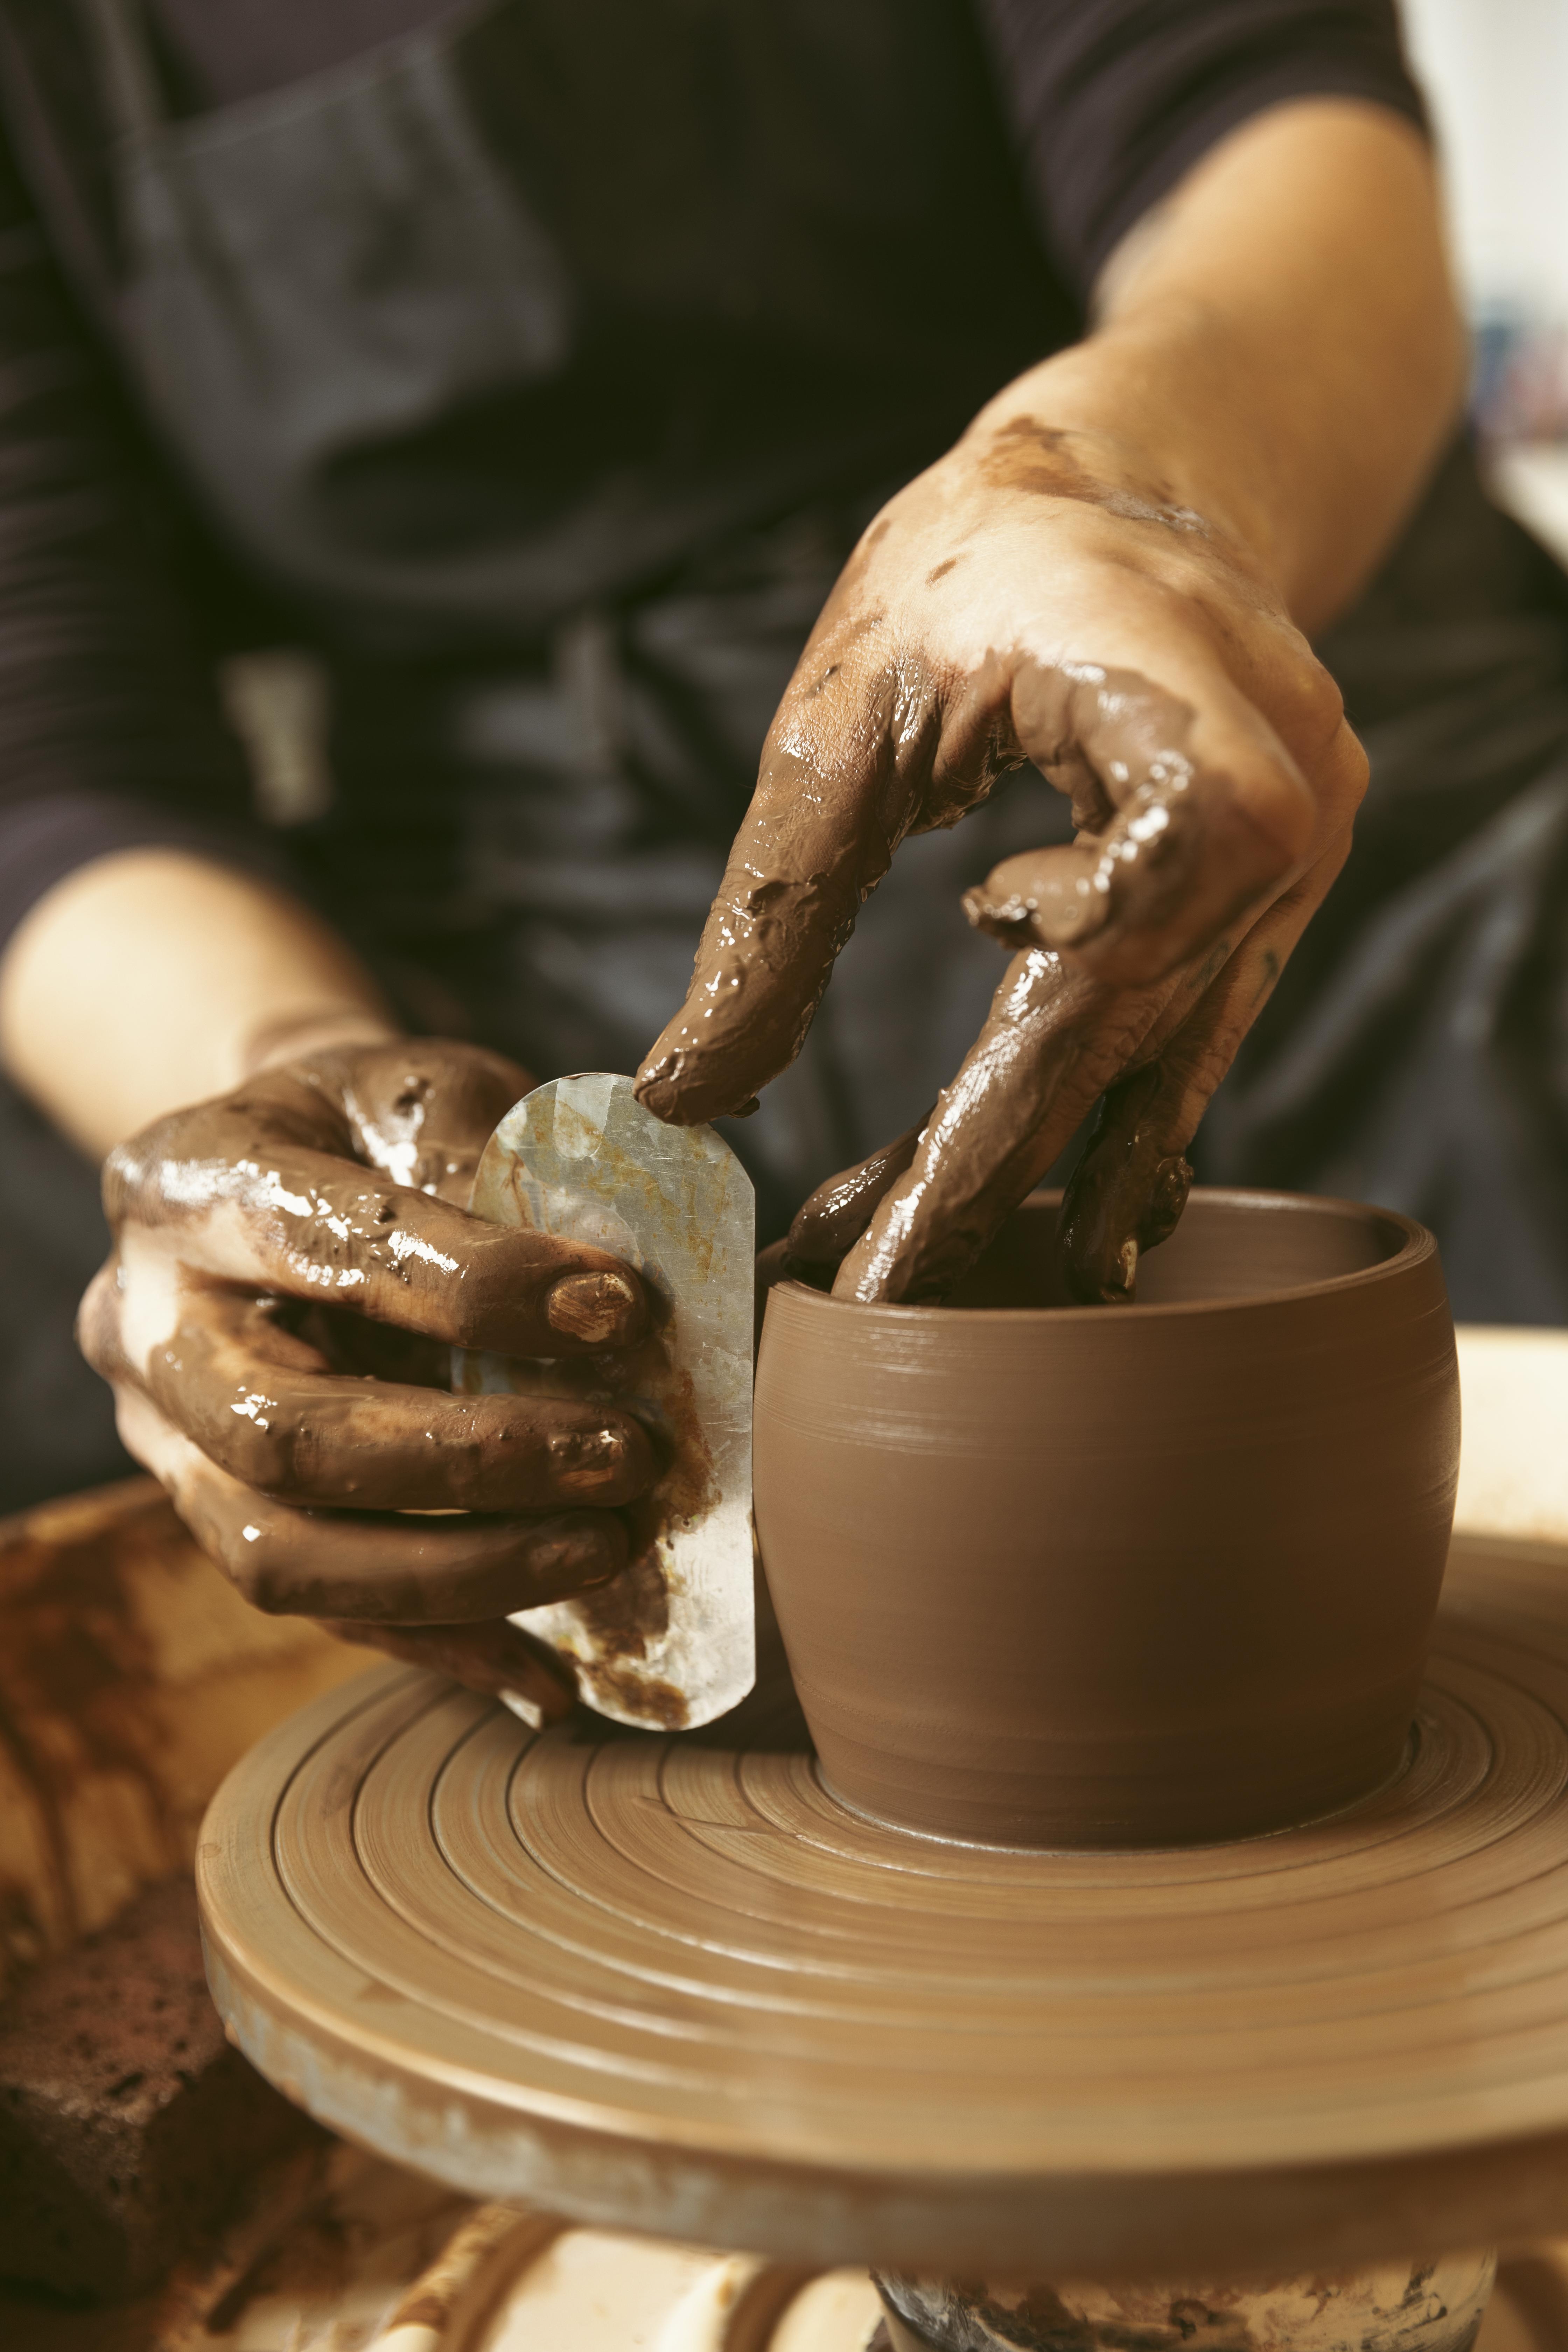
Slip casting in ceramics is a forming technique where liquid clay, called casting slip, is poured into a porous plaster mold to create ceramic objects. The plaster mold absorbs water from the liquid clay, causing a layer of clay to build up against the mold walls and gradually solidify into the desired shape.
The beauty of slip casting lies in its simplicity and precision. Unlike wheel throwing, where each piece varies slightly due to the potter's hand movements, or hand-building where thickness can be inconsistent, slip casting produces remarkably uniform results. The ceramic slip casting process creates pieces with consistent wall thickness, identical dimensions, and reproducible details that would be extremely difficult to achieve through other methods.
How the Slip Casting Process Works
The fundamental principle behind slip casting ceramics involves the interaction between liquid clay and porous plaster. When casting slip is poured into a plaster mold, capillary action draws water from the slip into the tiny pores of the plaster. This water absorption causes clay particles to concentrate against the mold walls, forming a gradually thickening layer of clay.
The longer the slip remains in the mold, the thicker the clay wall becomes. For most functional pottery, a wall thickness of about 1/4 to 3/8 inch provides adequate strength while keeping pieces lightweight. The process is remarkably controllable—you can create paper-thin decorative pieces by draining the slip after just a few minutes, or build up substantial walls by leaving the slip in the mold for an hour or more.
Once the desired wall thickness is achieved, the remaining slip is poured out, and the piece is left to dry in the mold. As the clay dries, it shrinks slightly and pulls away from the mold walls, making removal easy and preventing damage to both the piece and the mold.
The History and Evolution of Slip Casting Ceramics
Slip casting has ancient roots, with evidence of early forms of the technique found in Egyptian, Greek, and Roman civilizations. These early ceramicists discovered that pouring liquid clay into carved stone or fired clay molds could create consistent forms for both utilitarian and decorative purposes.
However, slip casting ceramics as we know it today developed during the Industrial Revolution in 18th and 19th century Europe. The introduction of plaster of Paris molds revolutionized the process, making it far more efficient and precise than previous methods. Factories could now produce identical pieces by the thousands, meeting the growing demand for affordable ceramic goods.
Modern Applications of Slip Casting
The 20th century saw slip casting evolve beyond purely industrial applications. Studio potters began experimenting with the technique to create artistic pieces that would be impossible to achieve through traditional methods. Today, slip casting is used for everything from mass-produced dinnerware to one-of-a-kind sculptural works.
Contemporary ceramic slip casting applications include fine art installations, architectural elements, custom dinnerware, and even high-tech ceramic components for industrial use. The technique has proven so versatile that many potters now consider it an essential skill, regardless of whether they're creating functional pottery or artistic sculptures.
How Slip Casting Works: The Complete Process Explained
Understanding the slip casting process requires breaking it down into distinct phases, each with its own considerations and techniques.
Preparing the Casting Slip
The first step in slip casting ceramics involves creating the liquid clay mixture. Casting slip differs significantly from regular clay in its consistency and chemical properties. While regular clay contains about 20-25% water, casting slip typically contains the same percentage of water but includes deflocculants—chemical additives that change how clay particles behave in suspension.
Deflocculation is crucial to successful slip casting. Without deflocculants, you would need much more water to make clay flow like a liquid, resulting in excessive shrinkage and poor casting properties. Deflocculants like sodium silicate or Darvan allow clay particles to remain suspended in less water while maintaining fluidity, creating a slip that behaves like cream but contains as much clay as plastic throwing clay.
The ideal casting slip has a specific gravity of approximately 1.80, meaning it weighs 1.80 times as much as an equal volume of water. This measurement helps ensure consistent casting results and proper clay-to-water ratios.
The Casting Process Step by Step
Once your slip is properly prepared, the actual ceramic slip casting process follows a predictable sequence. First, ensure your plaster mold is clean and completely dry. Any moisture in the mold will interfere with its ability to absorb water from the slip, leading to uneven wall buildup or poor casting results.
Pour the casting slip into the mold cavity, filling it completely and allowing it to overflow slightly. This overflow ensures no air bubbles are trapped inside the mold. The plaster immediately begins absorbing water from the slip, and you'll notice the slip level dropping as water is drawn into the mold walls.
Monitor the casting time carefully, as this determines your final wall thickness. For most functional pieces, 15-30 minutes produces appropriate wall thickness. You can check progress by scraping away a small amount of slip at the mold's edge to see how thick the clay layer has become.
When the desired thickness is reached, pour out the remaining slip. This step requires care—pour slowly and steadily to avoid disturbing the clay layer that has formed against the mold walls. The remaining slip can be reused for subsequent castings.
Drying and Demolding
After draining the excess slip, leave the piece in the mold to continue drying. The clay will gradually shrink as it loses moisture, eventually pulling away from the mold walls. This shrinkage is essential for easy removal and prevents damage to both the piece and the mold.
Depending on the size and complexity of your piece, drying time can range from a few hours to overnight. You'll know the piece is ready for removal when you can see gaps between the clay and mold walls, and the clay no longer feels damp to the touch.
Essential Materials and Equipment for Slip Casting
Successful slip casting ceramics requires specific materials and tools, though the equipment list is surprisingly manageable for most studio potters.
Clay Bodies and Casting Slip Preparation
Not all clay bodies work equally well for slip casting. The best casting clays have good plasticity when wet but don't become overly sticky. Many potters use commercially prepared casting slip, which eliminates the guesswork involved in formulating your own mixture.
If you prefer to make your own casting slip, start with a clay body you know fires well at your target temperature. Earthenware clays generally cast easily and work well for beginners, while stoneware clays offer greater durability for functional pieces. Porcelain creates beautiful, translucent results but can be more challenging to cast successfully.
The clay must be completely dry before mixing with water to create slip. Bone-dry clay slakes down much more effectively than leather-hard or plastic clay, creating a smoother, more consistent slip.
Plaster Molds and Mold Making
Plaster molds are the heart of the slip casting process. Quality molds make the difference between successful, professional-looking results and frustrating failures. You can purchase ready-made molds for common forms like bowls, cups, and plates, or create custom molds for your own designs.
Plaster of Paris is the standard material for slip casting molds because of its unique properties. It's porous enough to absorb water from casting slip, yet strong enough to withstand repeated use. The plaster's porosity can be controlled during mixing, allowing for fine-tuning of casting characteristics.
Good molds require careful planning and execution. The mold must be designed so that the cast piece can be removed without breaking either the piece or the mold. This often means creating multi-part molds for complex shapes, with careful attention to parting lines and draft angles.
Chemical Additives and Deflocculants
Deflocculation requires specific chemical additives that change how clay particles interact in suspension. Sodium silicate (water glass) is the traditional deflocculant, though modern alternatives like Darvan offer better performance and easier handling.
The amount of deflocculant needed varies with clay type and water chemistry. Too little deflocculent results in thick, sluggish slip that doesn't cast well. Too much creates slip that's too thin and doesn't build adequate wall thickness. Finding the right balance requires testing and adjustment.
Slip Casting vs Other Ceramic Techniques: When to Choose Each Method
Understanding when to use slip casting ceramics versus other pottery techniques helps you choose the most appropriate method for your projects.
Advantages of Slip Casting Over Wheel Throwing
Slip casting offers several distinct advantages over wheel throwing. First, consistency is unmatched—every piece from the same mold will be virtually identical in size, shape, and wall thickness. This consistency is crucial for commercial production but also valuable for creating matching sets or series pieces.
Complex shapes present another major advantage. While wheel throwing is limited to essentially round forms, slip casting can create pieces with handles, spouts, complex curves, and intricate details cast as single units. A teapot with an integral handle and spout, for example, would require multiple thrown components and assembly, while slip casting can create the entire form in one operation.
Production efficiency makes slip casting attractive for potters who need multiple identical pieces. Once molds are made and slip is prepared, casting dozens of pieces requires minimal hands-on time compared to throwing each piece individually.
Comparing Slip Casting to Hand-Building
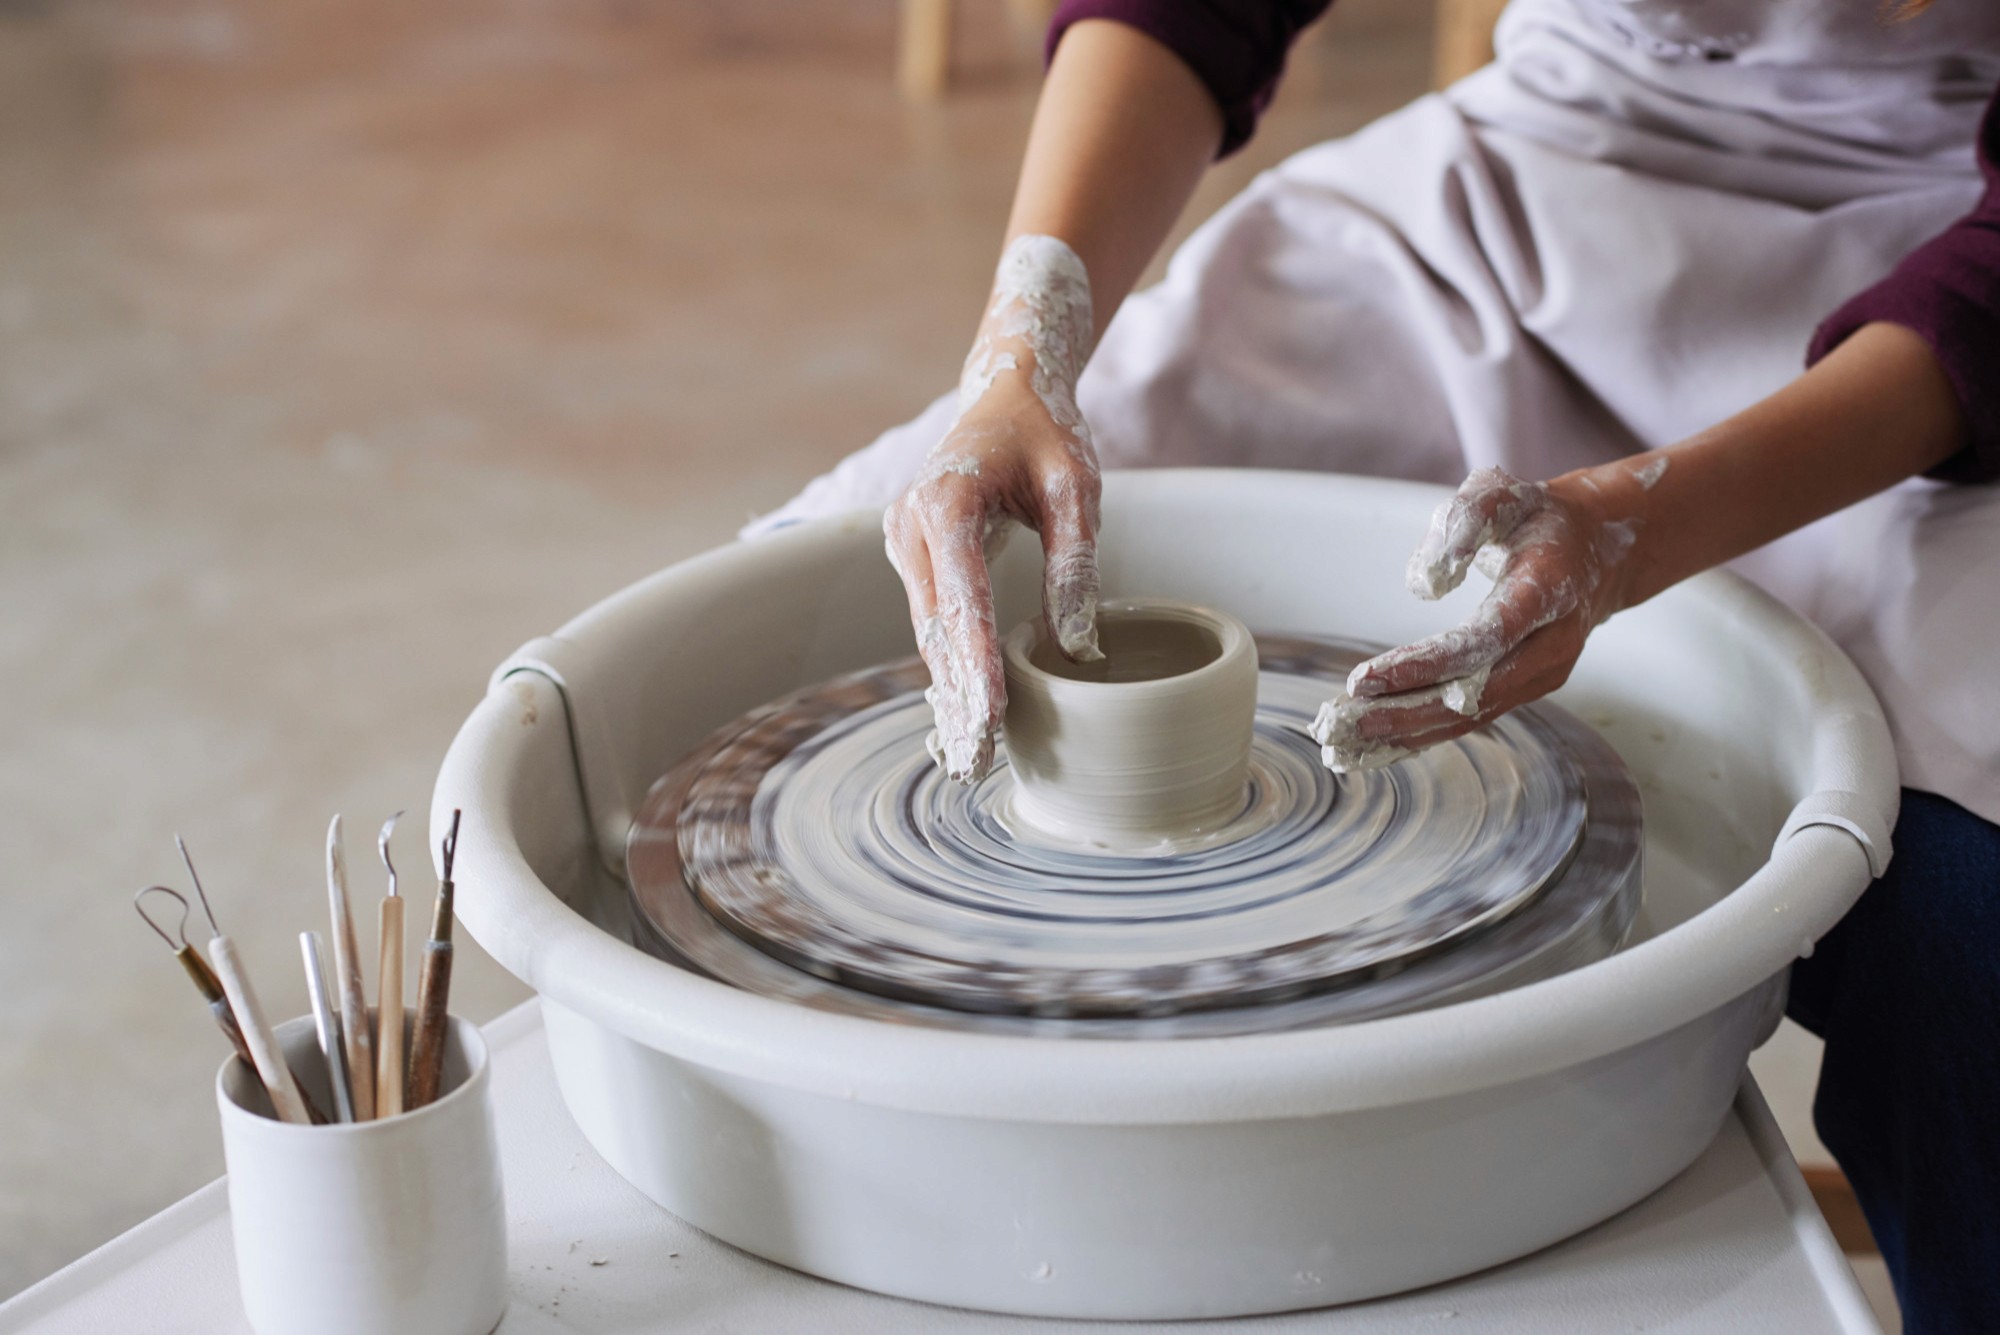
Hand-building techniques like pinch, coil, and slab construction offer unlimited creative freedom but require significant time investment for each piece. Slip casting ceramics sacrifices some creative spontaneity for remarkable efficiency and consistency.
Hand-building excels for one-of-a-kind pieces where slight variations add character and interest. Slip casting works better when you need multiple identical pieces or forms that would be extremely difficult to hand-build consistently.
The learning curve differs significantly between techniques. Hand-building requires developing tactile sensitivity and muscle memory that takes time to develop. Slip casting involves more technical knowledge about slip preparation and mold making, but the actual casting process can be learned relatively quickly.
Creating and Preparing Ceramic Slip for Casting
Preparing quality casting slip requires attention to several technical factors that significantly impact your results.
Understanding Slip Consistency and Specific Gravity
Casting slip must have the right consistency to flow properly into molds while containing enough clay to build adequate wall thickness. The standard measurement for slip consistency is specific gravity—the ratio of the slip's weight to an equal volume of water.
Most functional ceramic slip casting works best with a specific gravity between 1.75 and 1.85. Higher specific gravity means more clay in the mixture, which builds walls faster but may not flow as well into complex mold details. Lower specific gravity flows better but requires longer casting times to build sufficient wall thickness.
Testing specific gravity is straightforward: fill a 100ml graduated cylinder with slip, weigh it, and divide the weight by 100. Adjust the mixture by adding more clay (to increase specific gravity) or more water and deflocculant (to decrease it).
The Deflocculation Process
Deflocculation transforms ordinary clay-and-water mixture into proper casting slip. Without deflocculation, clay particles clump together, creating thick, lumpy mixture that won't cast properly. Deflocculants change the electrical charge on clay particles, causing them to repel each other and remain in suspension.
The process requires patience and careful measurement. Start by mixing dry clay with water to create a thick slurry. Add deflocculant drop by drop while mixing, checking the consistency frequently. The mixture will suddenly become much more fluid when the deflocculation point is reached.
Over-deflocculation creates slip that's too thin and won't build wall thickness properly. Under-deflocculation leaves the slip too thick to flow well. Finding the right balance takes practice, but the results are worth the effort.
Common Slip Casting Applications and Project Ideas
Slip casting ceramics opens up numerous creative and practical possibilities that extend far beyond basic pottery forms.
Functional Pottery Applications
Slip casting excels for creating functional pottery that requires consistency and complex forms. Matching dinnerware sets, for example, benefit enormously from the precision and repeatability of slip casting. Coffee mugs, bowls, plates, and serving pieces can all be cast with identical dimensions and wall thickness.
Teapots represent one of the most popular slip casting applications because they combine multiple complex elements—body, spout, handle, and lid—that can be cast as separate components and assembled while still wet. This approach creates stronger, more integrated joints than adding thrown or hand-built elements to a wheel-thrown body.
Artistic and Sculptural Uses
Contemporary ceramic artists have embraced slip casting for creating complex sculptural forms that would be impossible to achieve through other methods. The technique allows for hollow forms with intricate internal structures, multiple chambers, and precisely controlled wall thicknesses.
Ceramic slip casting also enables the production of multiples for installation work or edition pieces. Artists can create identical components that fit together in various configurations, or produce limited editions of sculptural work with consistent quality.
Troubleshooting Slip Casting Problems and Defects
Even experienced potters encounter challenges with slip casting ceramics. Understanding common problems and their solutions helps ensure consistent success.
Mold-Related Issues
Poor mold condition causes many slip casting problems. Molds that are too wet won't absorb water from the slip effectively, leading to uneven wall buildup or failure to cast at all. Always ensure molds are completely dry before use.
Worn or damaged molds create surface defects on cast pieces. Small chips or rough areas in the mold surface transfer directly to the cast piece. Regular mold maintenance, including careful cleaning and occasional refinishing, prevents many problems.
Mold design issues can create casting problems that require mold modification or replacement. Undercuts that prevent easy removal, insufficient draft angles, or poor parting line placement all contribute to casting difficulties.
Slip Consistency Problems
Casting slip that's too thick won't flow properly into mold details, creating incomplete casts or surface defects. Slip that's too thin builds walls too slowly and may not achieve adequate thickness in reasonable casting times.
Aging slip can develop consistency problems as bacterial action breaks down deflocculants or clay particles settle and clump together. Fresh slip generally casts better than slip that's been stored for extended periods.
Temperature affects slip behavior significantly. Cold slip flows more slowly and may not deflocculate properly, while warm slip flows faster but may cause other problems. Room temperature slip generally works best for most applications.
Getting Started with Slip Casting: Beginner Tips and Resources
Newcomers to slip casting ceramics can begin with simple projects that build skills gradually while producing useful results.
First Projects for Beginners
Start your slip casting journey with simple, open forms like bowls or shallow dishes. These shapes require only single-piece molds and forgiving casting techniques. Success with basic forms builds confidence and teaches fundamental skills before moving to more complex projects.
Commercial molds designed for beginners offer an excellent introduction to the technique without requiring mold-making skills. Many pottery supply companies offer starter kits that include molds, prepared casting slip, and basic instructions.
Building Skills Progressively
As your slip casting skills develop, gradually increase project complexity. Move from simple open forms to closed forms like vases, then to pieces with handles or spouts. Each progression teaches new skills while building on previous knowledge.
Learning to make your own molds opens unlimited creative possibilities but requires additional skills and equipment. Consider taking a mold-making workshop or working with an experienced potter when you're ready to create custom molds.
Safety Considerations
Slip casting ceramics involves some materials that require careful handling. Deflocculants can be caustic, and plaster dust poses respiratory hazards. Always wear appropriate protective equipment, including dust masks when mixing dry materials and gloves when handling chemicals.
Work in well-ventilated areas, especially when mixing slip or working with molds. Keep safety data sheets for all chemicals on hand and follow manufacturer recommendations for safe handling and storage.
Frequently Asked Questions About Slip Casting in Ceramics
What is the difference between casting slip and regular clay?
Casting slip is liquid clay that has been deflocculated with chemical additives to make it flow like cream while containing as much clay as regular plastic clay. Regular clay contains clay particles, water, and natural binders, while casting slip contains clay, water, and deflocculants that change how the particles behave in suspension.
How long does slip casting take?
The slip casting process varies depending on desired wall thickness and mold size. Small pieces with thin walls may cast in 10-15 minutes, while larger pieces with thicker walls can take 30-60 minutes or more. Total time from casting to removal includes drying time, which can range from a few hours to overnight.
Can I make my own casting slip?
Yes, you can make your own casting slip from dry clay, water, and deflocculants. The process requires careful measurement and testing to achieve proper consistency and specific gravity. Many beginners find commercial casting slip more convenient until they develop experience with the technique.
What clay works best for slip casting?
Most clay bodies can be adapted for slip casting, but some work better than others. Earthenware clays generally cast easily and work well for beginners. Stoneware clays offer durability for functional pieces. Porcelain creates beautiful results but can be more challenging to cast successfully.
How many times can I use a plaster mold?
Well-made plaster molds can be used hundreds of times with proper care. Mold life depends on the complexity of the form, quality of the original mold making, and how carefully the mold is handled and maintained. Simple molds generally last longer than complex multi-piece molds.
Is slip casting considered handmade pottery?
This question generates considerable debate in the ceramics community. Slip casting requires significant skill in mold making, slip preparation, and casting technique. While the forming process is mechanized, many other aspects remain hands-on. Most ceramic artists consider slip cast pieces handmade, especially when created in small studio settings.
What is slip casting in ceramics? This technique represents one of the most versatile and efficient methods available to pottery makers, offering possibilities that extend far beyond traditional hand-building or wheel-throwing techniques. Whether you're interested in creating consistent functional pottery, complex sculptural forms, or exploring new creative possibilities, slip casting provides tools and techniques that can transform your ceramic practice.


Stay up-to-date